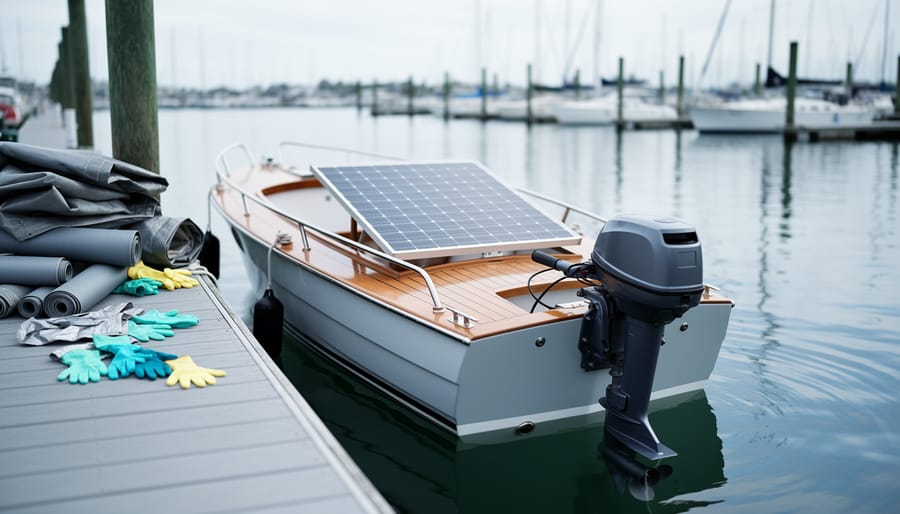
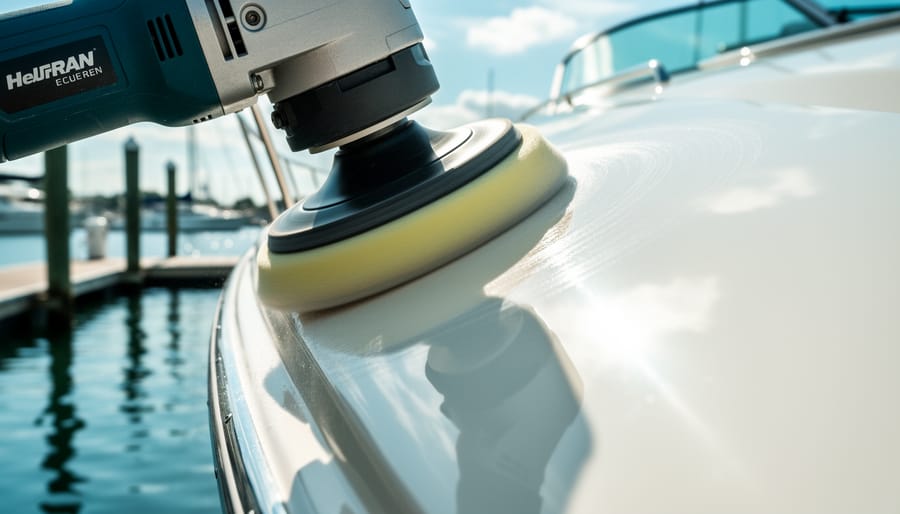
Machine polishing painted gelcoat surfaces with compound technique transforms oxidized, chalky fiberglass back to a brilliant shine in about two to four hours, using a dual-action polisher, cutting compound, and a systematic three-stage approach that removes surface damage while protecting the underlying gelcoat layer.
The process matters because painted gelcoat on boats degrades under constant UV exposure, salt spray, and environmental contaminants. Rather than repainting or replacing panels, which creates waste and drains your wallet, machine polishing restores the original finish at a fraction of the cost. This approach aligns perfectly with the values of solar electric boats owners who prioritize maintenance and longevity over disposal.
The technique relies on progressively finer abrasives to level surface imperfections. Heavy oxidation requires an aggressive cutting compound to remove damaged material, followed by medium-grade polish to refine the surface, then finishing polish to develop maximum gloss. Each stage builds on the previous one, removing scratches left by coarser compounds until you achieve mirror-like clarity.
Success depends on three factors: matching compound aggressiveness to surface condition, maintaining consistent pad pressure and speed, and working in small sections to avoid compound drying. Most failures stem from rushing through stages or using too much pressure, which generates heat that can damage gelcoat permanently.
This guide walks you through compound selection, machine setup, proper technique, and verification methods so you restore your boat’s appearance safely and effectively while extending its life for years to come. The same polishing compound for cars can often work on marine gelcoat surfaces as well.
Understanding Painted Gelcoat and When Machine Polishing Is Needed
Painted gelcoat is a topcoat finish applied over the original gelcoat layer on fiberglass boats, offering a fresh appearance and additional protection when the underlying surface has degraded beyond simple restoration. Unlike unpainted gelcoat, which is pigmented resin that hardens to form the boat’s outer skin during manufacturing, painted gelcoat consists of marine-grade paint applied to an existing gelcoat substrate. This layered approach creates a distinct surface that responds differently to polishing because you’re working with paint film rather than the original resin structure.
The key difference matters for technique: painted surfaces are thinner and more vulnerable to burn-through if you polish too aggressively. Original gelcoat typically measures 15-20 mils thick, while paint layers average only 3-6 mils. Both surfaces suffer similar deterioration patterns, oxidation that turns the finish dull and chalky, fine scratches from washing and docking, swirl marks from improper cleaning, and UV-induced fading. These issues aren’t merely cosmetic. On solar-powered boats, a degraded finish reduces panel efficiency by allowing dirt and contaminants to accumulate more readily on any surface, including areas near solar arrays.
Regular polishing addresses these problems before they require repainting. When you catch oxidation early, visible as a hazy, matte appearance rather than a reflective shine, compound polishing removes the damaged outer layer and exposes fresh material beneath. This preventive approach aligns perfectly with the ethos of electric and solar boating: restore instead of replace. Each successful polishing session extends your boat’s life cycle, reduces manufacturing demand, and keeps resources in use longer rather than creating waste through premature replacement.
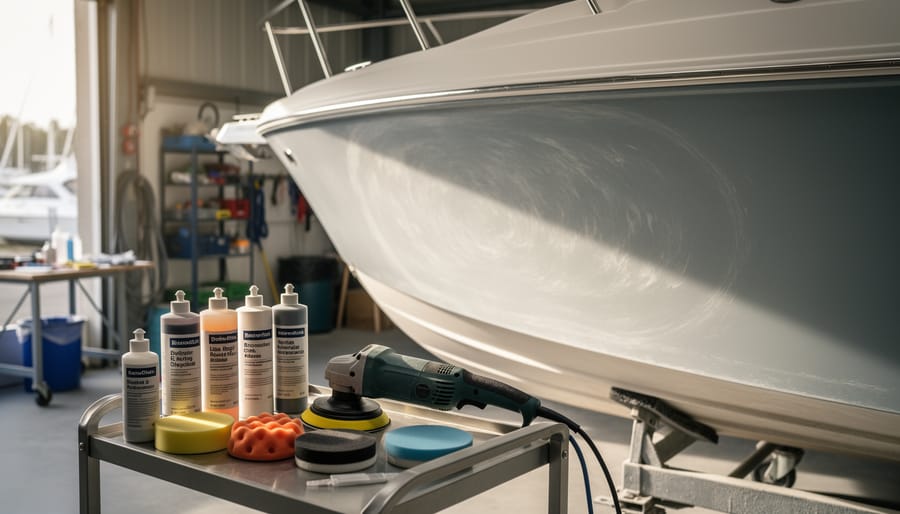
Tools, Materials, and Compound Selection
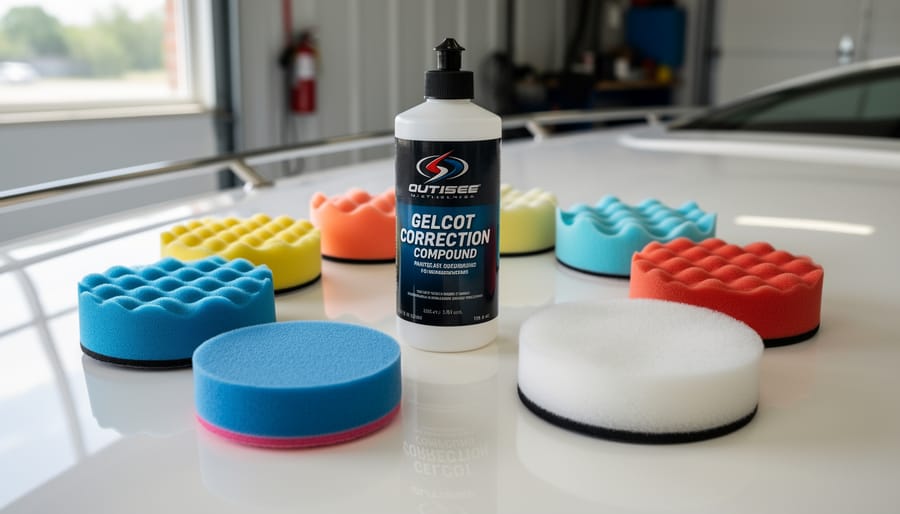
Choosing the Right Compound for Your Surface Condition
Start by examining your painted gelcoat in bright, natural light. Run your fingernail across the surface, if it catches on scratches or feels rough, you need a cutting compound. If the surface appears dull with a chalky residue when you wipe it, that’s oxidation requiring aggressive correction. For light haziness or minor swirl marks, a polishing compound will suffice.
Cutting compounds contain coarse abrasives (typically 1000-1500 grit equivalent) that remove oxidized layers and deeper scratches. Use these only when surface damage is visible and pronounced. They’ll restore clarity but leave fine scratches that require follow-up steps.
Polishing compounds use medium abrasives (2000-3000 grit) to refine the surface after cutting or to address moderate imperfections directly. They remove the micro-scratches left by cutting compounds and restore a smooth finish.
Finishing compounds feature ultra-fine abrasives (4000+ grit) that create maximum gloss and eliminate any remaining haze. Think of them as the final polish before protection.
The progressive refinement approach means starting with the least aggressive compound that will correct your damage, then working through finer grades. Heavy oxidation requires all three stages: cut, polish, finish. Light scratches might skip cutting entirely. Fresh gelcoat with minor swirls may only need finishing compound.
Don’t jump straight to cutting compound unless absolutely necessary, removing material unnecessarily shortens your gelcoat’s lifespan and contradicts sustainable maintenance practices.
Safety Precautions and Surface Preparation
Before you start machine polishing, understand that painted gelcoat demands respect. Heat buildup from friction can burn through thin paint layers in seconds, especially on older hulls where UV exposure has already weakened the finish. Work in a shaded area with temperatures between 50-85°F, and never polish in direct sunlight. Wear safety glasses to protect against compound splatter, hearing protection if using a rotary polisher for extended periods, and nitrile gloves to prevent skin irritation from chemical compounds.
Machine handling requires full attention. Keep a firm two-handed grip on your polisher, maintain control at all times, and never let the spinning pad contact railings, cleats, or your body. Start with the machine off the surface, bring it to speed, then lower it gently onto the work area. Cordless models reduce trip hazards but require charged backup batteries for uninterrupted workflow.
Surface preparation determines whether your sustainable boat restoration succeeds or creates more problems. Begin with a thorough wash using marine soap and a soft brush to remove salt, dirt, and organic matter. Follow with a clay bar or decontamination mitt to extract embedded contaminants that washing misses, run your hand over the surface, and if it feels rough rather than smooth, you’re not ready to polish. Rinse completely and dry with microfiber towels, as any remaining grit will create scratches under the polisher’s pressure.
Mask off all non-painted surfaces with painter’s tape: aluminum trim, vinyl graphics, rubber seals, and navigation lights. Compound works its way into crevices and stains porous materials, and the spinning pad can catch edges and tear decals. This preparation stage protects the specialized coatings and components on solar-powered boats, ensuring your polishing work enhances rather than damages the vessel’s eco-friendly systems. Proper prep adds thirty minutes but prevents hours of corrective work.
Step-by-Step Machine Polishing Process
Step 1: Test Spot and Speed Settings
Choose an inconspicuous test area on your boat’s hull, typically a section near the waterline or behind a hatch where imperfections won’t be immediately visible. This lets you dial in the right technique without risking obvious damage to high-visibility areas. Apply a quarter-sized amount of compound directly to your pad, not the surface, to prevent splattering. Start your dual-action polisher at 1000-1500 RPM, lower than you might think necessary. Press the spinning pad gently against the gelcoat and spread the compound across a two-foot square section using overlapping passes.
Work the compound for 30-45 seconds, maintaining light to moderate pressure. You’ll feel the compound breaking down as it turns from paste to liquid, and the pad will glide more easily. Lift the machine and wipe the test spot clean with a microfiber towel. Inspect the results under good lighting: Has oxidation cleared? Are scratches less visible? If the surface looks clearer but hazy, you’ve chosen the right starting point. If nothing changed, you’ll need a more aggressive compound or slightly higher speed. Much like maintaining portable solar panels for optimal performance, this calibration step ensures your restoration effort delivers results without causing harm.
Step 2: Apply Cutting Compound (If Needed)
If your test spot revealed heavy oxidation or deep scratches, you’ll start with cutting compound. This stage removes damaged gelcoat to reveal fresh material underneath, but it demands careful technique to avoid creating new problems.
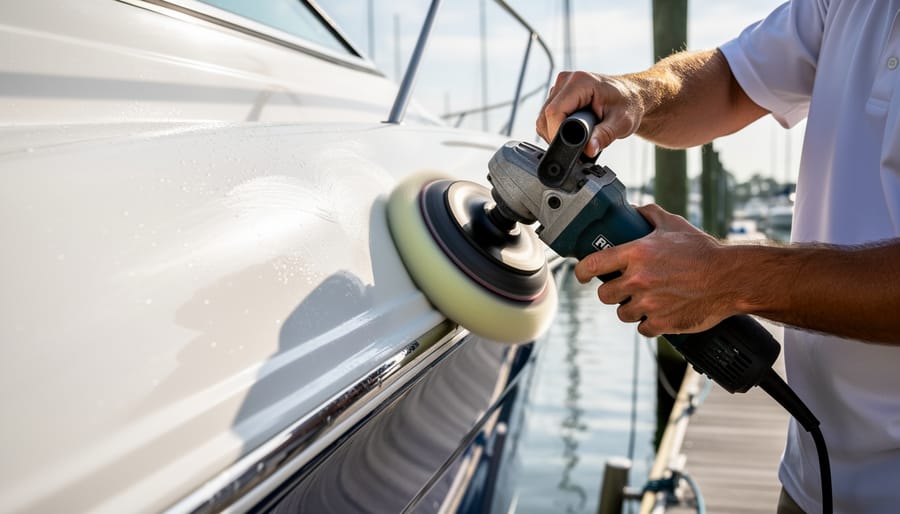
Apply four to six pea-sized dots of cutting compound directly onto your foam cutting pad, not the gelcoat surface. Spread the compound across a 2×2 foot section using the machine switched off, dabbing it gently to create an even layer. This prevents splatter when you power on and ensures uniform coverage.
Start your dual-action polisher at 1000 RPM and work the compound using overlapping passes, moving horizontally then vertically to form a crosshatch pattern. Keep the pad completely flat against the surface, tilting it concentrates pressure on the pad edge and creates holograms or burns through paint layers on your solar boat’s finish. Apply moderate, consistent pressure, roughly the weight of the machine itself. Pressing harder doesn’t speed the process; it generates excessive heat and risks damage.
Work each section for two to three minutes, adjusting speed up to 1500 RPM as the compound begins breaking down. You’ll notice the compound becoming translucent and less resistant as abrasive particles fracture into finer sizes. When it turns clear and wipes away easily, the cutting action is complete.
Stay six inches away from edges, rails, and sharp transitions where gelcoat is thinnest. These areas burn through quickly and are nearly impossible to repair without full repainting.
Step 3: Polishing Stage for Refinement
After removing haze from the cutting compound, switch to a polishing compound and a softer foam pad, typically orange or white foam for dual-action machines. This stage refines the surface by eliminating the micro-scratches left behind from the more aggressive cutting phase.
Apply a small amount of polishing compound to your pad and spread it across a clean 2×2 foot section. Increase your machine speed slightly, usually to 1500-2000 RPM for dual-action polishers. Work the compound using overlapping passes, maintaining light to moderate pressure. You’ll notice the haze clearing and the gelcoat taking on a deeper, more reflective finish.
Keep the pad moving constantly to prevent heat buildup. The polishing compound breaks down faster than cutting compound, so you’ll need fewer passes, typically three to four complete overlaps per section. Wipe away residue frequently with a clean microfiber towel to check your progress. The surface should now appear clear and glossy, though not yet at maximum shine. If you still see swirl marks or cloudiness, make additional passes with fresh compound before moving to the finishing stage.
Step 4: Final Finishing Pass
With the surface refined from polishing, the final finishing pass transforms good results into a mirror-like gloss. Switch to a finishing compound, the least aggressive formulation, and pair it with a soft black or white foam finishing pad. Some detailers prefer microfiber pads for their ability to generate heat quickly and enhance gloss. Apply a small amount of finishing compound to the pad, then spread it across your section at the machine’s lowest setting before ramping up to 1200-1500 RPM for dual-action polishers.
The key difference here is pressure: use barely more than the weight of the machine itself. Let the pad float across the surface rather than pushing down. Work in deliberate, overlapping passes until the compound turns clear and nearly disappears. This stage removes the ultra-fine swirls left by polishing compound and brings out maximum depth and clarity in the gelcoat. Check your work frequently under direct light to confirm the surface is free of haze. Once satisfied, wipe clean with a fresh microfiber towel and move immediately to protection, the freshly finished surface is now vulnerable and needs sealing.
Verifying Results and Protecting Your Work
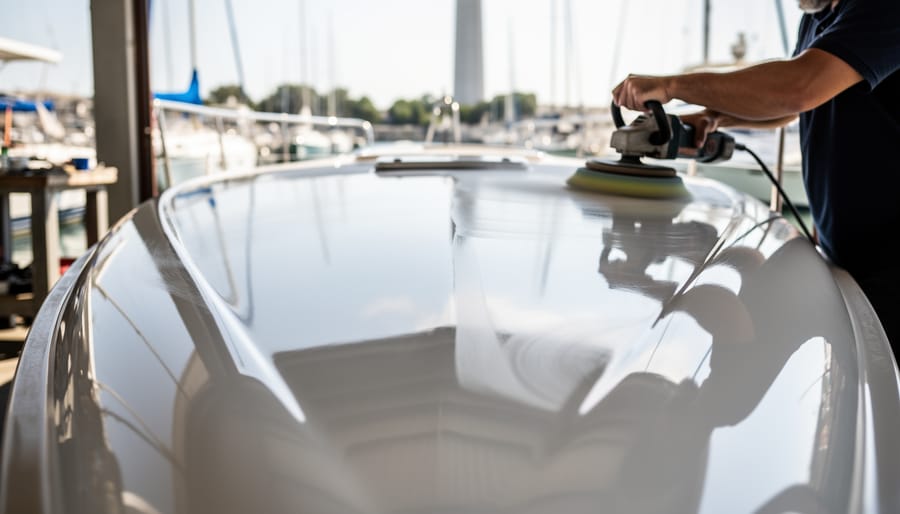
After completing your final finishing pass, proper inspection is crucial to ensure you’ve achieved the results you want and that your electric boat’s gelcoat is truly protected. Walk around the hull slowly, examining the polished area from multiple angles. Start with overhead fluorescent or LED lighting if working indoors, looking for any remaining haze, swirl marks, or dull spots that indicate incomplete compound breakdown or insufficient polishing.
The most revealing inspection method is direct sunlight. Take your boat outside or open the garage door wide, then view the surface at a shallow angle with the sun behind you. This harsh lighting exposes every imperfection: micro-scratches will appear as fine lines, holograms show up as rainbow-like patterns, and any remaining oxidation appears as dull patches. Run your hand gently across the surface, it should feel glass-smooth, not rough or textured. If you detect any issues, identify whether they’re isolated spots or widespread. Isolated defects may need just a quick touch-up with finishing compound, while widespread problems suggest you need to repeat the polishing stage across the entire section.
Once you’re satisfied with the correction, don’t leave the bare gelcoat exposed. Freshly polished surfaces are vulnerable to environmental contamination and UV damage, which is particularly important for solar boats that spend extended time in sunlight. Apply a marine-grade wax or synthetic sealant within hours of completing the polishing process. Wax provides a warm, natural glow and typically lasts two to three months, while polymer sealants offer longer protection, often four to six months, with slightly less depth of shine. Apply your chosen protectant in thin, even coats using a foam applicator, working in small sections and buffing off before it hazes completely.
For electric and solar-powered boats, this protective layer does double duty: it shields your polishing work from salt spray and water spots while reducing how often you’ll need to repeat the aggressive polishing process. Less frequent polishing means less compound waste, lower environmental impact, and more time enjoying your sustainable vessel. Mark your calendar for the next maintenance session based on your protectant’s expected lifespan and your boat’s exposure conditions.
Common Mistakes and How to Avoid Them
Even experienced boat owners can compromise their polishing results through common missteps that damage painted gelcoat rather than restore it. Recognizing these errors before they occur protects your electric or solar boat’s finish and saves you from having to repeat the entire process.
Starting with cutting compound when your surface only needs polishing wastes time and removes more material than necessary. Always begin with the least aggressive compound that addresses your specific issue, test it on an inconspious spot first. If your surface shows light oxidation or minor swirls, skip the cutting stage entirely and move straight to polishing compound. You can always step up in aggressiveness if needed, but you cannot undo excessive material removal.
Applying too much pressure while machine polishing is perhaps the most frequent mistake. Let the machine do the work, pressing harder does not speed up the process, it generates excessive heat that can burn through paint or distort gelcoat. Keep the polisher moving steadily with only enough pressure to maintain pad contact, typically around two to five pounds. If you find yourself leaning into the machine, you are working too hard.
Working in direct sunlight creates multiple problems: compounds dry out before breaking down properly, surface temperatures rise dangerously high, and you cannot accurately assess your results. Move your boat into shade or wait for overcast conditions. If neither option exists, work early morning or late afternoon when temperatures drop.
Several other mistakes can undermine your efforts:
– Letting compound dry on the surface before buffing creates hard-to-remove residue and wastes product
– Using dirty or compound-loaded pads spreads contamination and reduces cutting efficiency
– Skipping from heavy cutting directly to final finishing leaves visible haze and swirl marks
– Working too large a section before buffing away compound allows it to harden
– Neglecting to clean the surface between compound stages transfers heavier abrasives into finer stages
The progressive refinement approach exists for a reason, each stage removes the scratches from the previous one. Rushing through or eliminating steps means starting over when you spot hazing under bright light. Take the methodical path, clean your pads frequently with a pad cleaning brush or spur, and verify each stage before moving forward. Your solar boat’s restored finish will reward your patience.
Frequently Asked Questions
How long does polishing compound last once opened?
Most compounds remain effective for 1-2 years if stored in a sealed container away from extreme temperatures. If your compound has separated significantly, dried out, or developed an unusual odor, replace it before use.
Should beginners use rotary or dual-action polishers?
Dual-action polishers are safer for beginners because they oscillate and rotate simultaneously, reducing the risk of paint burn-through. Rotary polishers cut faster but require more skill and can damage surfaces in untrained hands.
How often should I polish my solar-powered boat?
Inspect your boat every six months and polish only when you notice oxidation, dullness, or scratches. Over-polishing removes material unnecessarily, so focus on preventive maintenance with quality wax or sealant between polishing sessions.
Can I restore heavily oxidized gelcoat on an older electric boat?
Yes, but you’ll need aggressive cutting compound and potentially multiple passes with progressively finer products. Test a small area first to ensure the painted gelcoat layer is thick enough to withstand correction without exposing the substrate.
Beyond these common concerns, boat owners frequently wonder about environmental responsibility when using polishing compounds. Many modern formulas are water-based and contain fewer volatile organic compounds than older products, making them safer for marine environments. Never rinse compound residue directly into waterways. Instead, collect wastewater in a containment system or work in an area where runoff can be properly filtered. Some marinas offer designated wash areas with water treatment systems specifically for boat maintenance.
The question of DIY versus professional service often comes down to time, confidence, and the condition of your boat’s finish. Professional detailing typically costs between 800 and 2,000 dollars for a complete polish job on a mid-sized boat, while quality DIY equipment and supplies run 200 to 400 dollars initially, with consumables adding 50 to 100 dollars per session. If you’re comfortable learning the technique and have a weekend to dedicate, the investment pays for itself after two or three jobs. However, if your electric boat has severe damage, swirl marks from previous poor polishing, or you’re concerned about making mistakes on valuable painted gelcoat, professional help provides peace of mind and guaranteed results.
Don’t let solar boat maintenance myths discourage you from taking on this project. Machine polishing requires patience and attention to detail, but it’s a learnable skill that gives you control over your boat’s appearance and protects your investment in sustainable boating.
Mastering machine polishing with the right compound selection and proper technique gives you the power to restore and maintain your electric or solar-powered boat’s appearance without resorting to costly, environmentally intensive repainting. By removing oxidation, scratches, and dullness through progressive refinement, you extend the protective lifespan of your gelcoat while keeping your vessel looking showroom-fresh. This DIY approach aligns perfectly with sustainable boating values, you conserve resources, reduce waste, and prove that restoration beats replacement every time.
The satisfaction of transforming a chalky, neglected surface into a deep, mirror-like finish rivals any accomplishment on the water. You’ve not only improved your boat’s aesthetics and resale value but also demonstrated that sustainable ownership includes hands-on care. Each polishing session becomes easier as you develop muscle memory for pressure, speed, and pad control.
Your success story matters. Share your before-and-after results, favorite compound combinations, and lessons learned with the Solar Sailing community. Your experience helps fellow owners tackle their own restoration projects with confidence. Whether you’re maintaining a new electric catamaran or reviving a vintage solar cruiser, you’re part of a growing movement that values preservation, craftsmanship, and environmental responsibility on every voyage.